I wanted to level up my timelapses but a decent size Orbital Camera Rig was too expensive. I designed this rig to work with:
- Any length of 3/4" PVC or aluminum pipe, so long as it is counter weighted appropriately
- ESP32
- A4988 or TMC2208 (with modification to code)
- LM2596 Buck Converter
- Mounting in almost any orientation
Fusion360

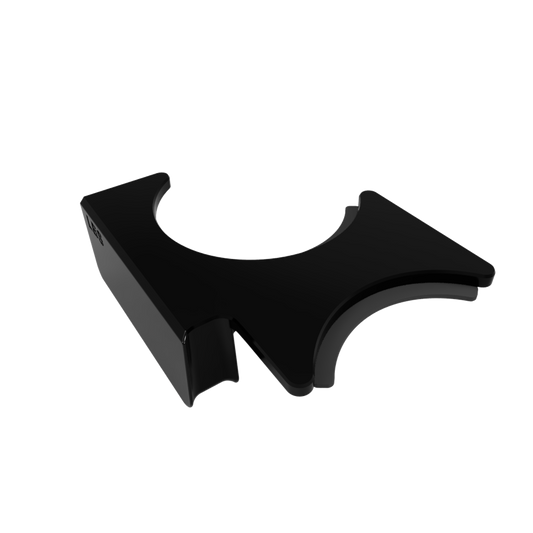
I designed the Orbital Camera Rig using Fusion360. I choose to use Double Helical Gears that way they could be self aligning and mesh together smoother.

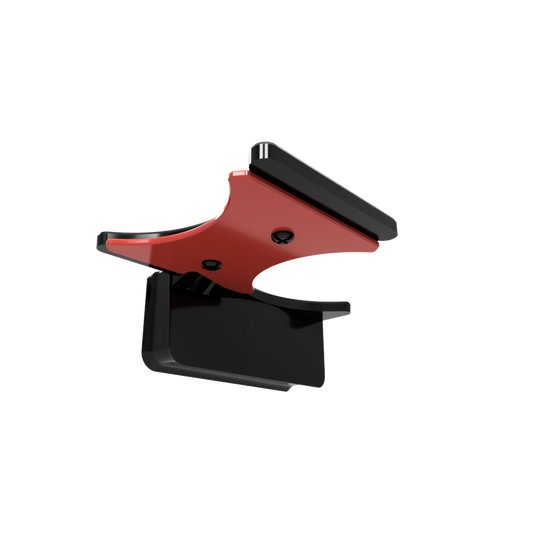
I made clips that grip the outside of the circuit boards and pop into the holder.

They worked amazing before all the wires and soldering, but after all the boards were soldered together they sucked, it was super difficult to get the boards into the holder without bending or breaking the soldered connections.
Code
The ESP32 Web App was built using VS Code and PlatformIO. It can be downloaded from GitHub
I designed and built the app with the intention of making it easy for others to download and use regardless of their skill level.

The ESP32 by default creates an Wifi Hotspot (Access Point) with the ssid "OrbitalCamera" and the password "123456789". Once connected you can navigate to "192.168.0.1" on any internet browser to access the App
Alternatively you can change the AP_CONNECTION to false and set your own local Wifi ssid and password.
Unfortunately the App is currently off by a bit and has a few bugs.
Circuit
The circuit above may vary depending on your exact hardware. My stepper motor had 6 wires and needed me to invert the 2 center wires to make it work with 4 wires. The power supply needed to be at least 8.2volts for the A4988 that I was using.
Affiliate Links:
Also for one reason or another some GPIO pins are not good for sending signals to the A4988 Driver. Here's a link with a detailed description on the ESP32 pins. Below is a list of pins that should work:
- 4
- 13
- 16
- 17
- 18
- 19
- 21
- 22
- 23
- 25
- 26
- 27
- 32
- 33


